
Creating Mosaics: A Step-by-Step Guide for Beginners


Introduction to Mosaic Art
Mosaic art is a timeless craft that dates back thousands of years, transforming simple pieces of material into beautiful works of art. Whether you're looking to add a personal touch to your home or explore a new hobby, creating mosaics can be a rewarding experience. In this guide, we'll walk you through the basics of mosaic making, step by step.
Before you begin, it's essential to gather the right materials. Some of the basics include tiles, adhesive, grout, and a base. You can also consider using broken ceramics, glass, or stones to add unique textures and colors to your mosaic.
Choosing Your Design
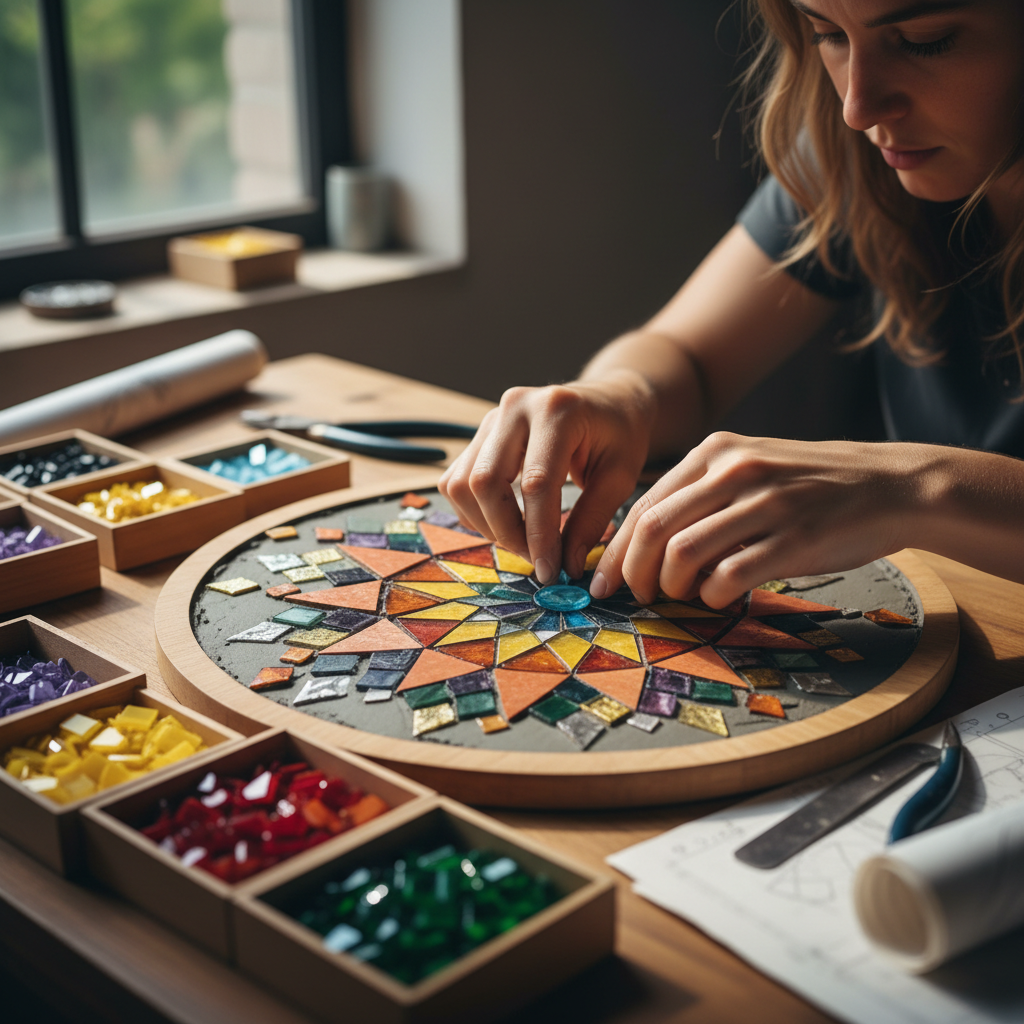
The first step in creating a mosaic is choosing a design. You can start with something simple, like geometric patterns, or take inspiration from nature or famous artworks. Sketch your design on paper before transferring it to your base to ensure clarity and precision.
When selecting colors, consider the overall theme and mood you want to convey. Bright colors can make a space feel lively, while muted tones can offer a more serene atmosphere. Remember, your design is the foundation of your mosaic, so take your time to plan it out.
Transferring the Design
Once you've finalized your design, it's time to transfer it onto your base. You can do this by drawing directly onto the surface or using tracing paper. This step ensures that your tiles are placed accurately, maintaining the integrity of your original vision.
Tile Cutting and Placement
Next, you'll need to cut your tiles to fit the design. Use tile nippers or a glass cutter, depending on your material. It's crucial to wear safety goggles during this process to protect your eyes from sharp fragments. Take your time to cut each piece to the desired shape and size.
Once your tiles are ready, begin placing them on the base according to your design. Start from the center and work your way outwards, which helps maintain balance and symmetry. Use a small amount of adhesive to secure each piece.
Grouting Your Mosaic
Grouting is the process that binds your mosaic pieces together, filling the gaps and adding durability. Mix the grout according to the manufacturer's instructions and apply it over the tiles using a rubber float. Ensure that all gaps are filled evenly.
After applying the grout, let it set for a few minutes, then wipe away the excess with a damp sponge. Be gentle to avoid dislodging any tiles. Once the grout is dry, polish the surface with a soft cloth to reveal the vibrant colors of your mosaic.
Finishing Touches
To protect your mosaic and give it a professional finish, consider applying a sealant. This will preserve the colors and make the artwork easier to clean. Follow the instructions on the sealant packaging for best results.
Finally, take a step back and admire your creation. Each mosaic is unique, reflecting the artist's personal style and creativity. Whether displayed indoors or outdoors, your mosaic will be a lasting testament to your artistic journey.
Conclusion
Creating mosaics is a fulfilling endeavor that combines patience, creativity, and skill. By following this step-by-step guide, beginners can embark on a journey of artistic discovery, turning simple materials into stunning visual displays. Start small, experiment with different styles, and most importantly, enjoy the process of bringing your mosaic vision to life.