Discover the Joy of DIY Mosaics: A Step-by-Step Guide


Introduction to DIY Mosaics
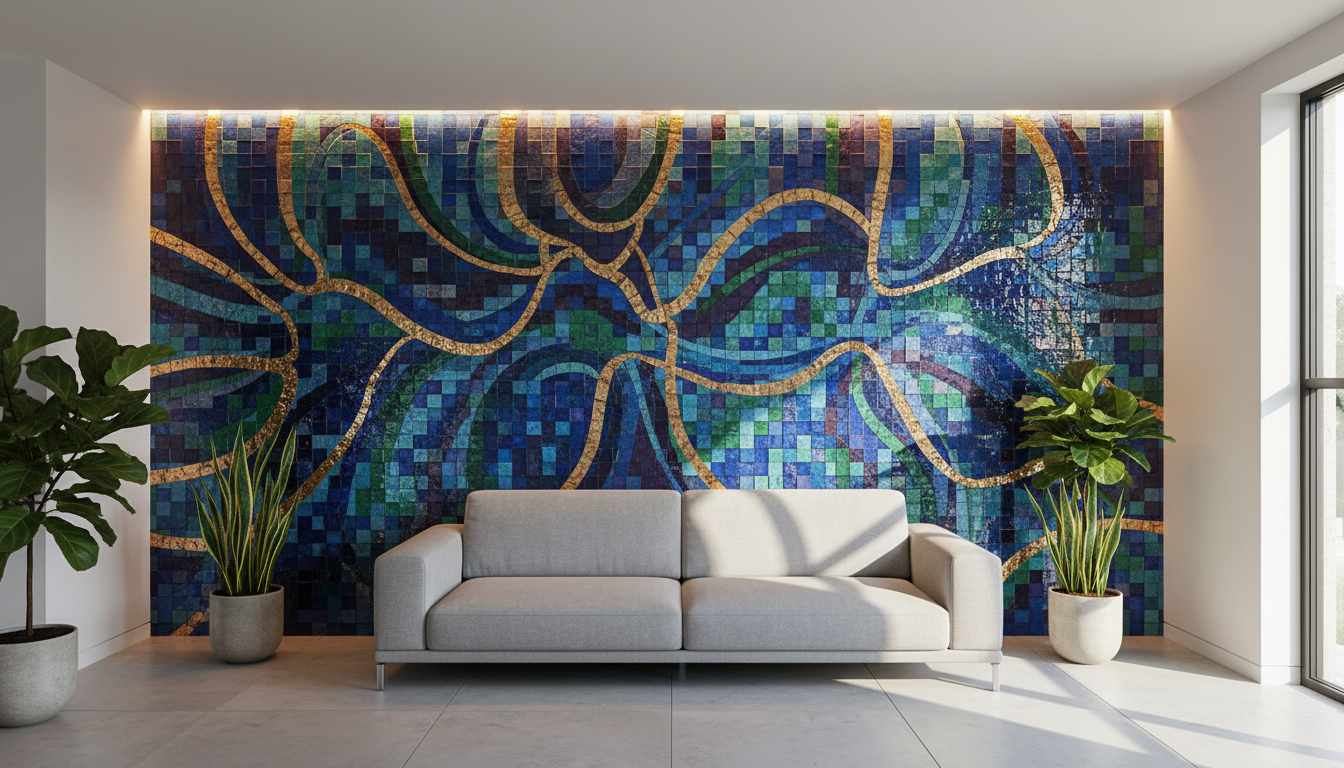
Discovering the art of DIY mosaics can be a rewarding and fulfilling experience. This ancient art form allows you to express your creativity while crafting something beautiful and unique. Whether you're decorating a tabletop or creating wall art, mosaics offer endless possibilities.
Gathering Your Materials
Before you start your mosaic project, it's important to gather all the necessary materials. You will need tiles or tesserae, adhesive, grout, a base, and tools like nippers and a spatula. Many craft stores offer mosaic kits that include everything you need to get started.
Tiles and Tesserae: Choose tiles made of ceramic, glass, or stone. Consider the color scheme and texture to match your design vision.
Selecting a Base
Your base could be anything from a wooden board to a flower pot. Ensure the surface is clean and sturdy enough to support the weight of the tiles. Beginners might find flat surfaces easier to work with.

Planning Your Design
Sketch your design on paper before starting. This step helps you visualize the final product and ensures you have a clear plan. Decide on the pattern and colors, keeping in mind the overall aesthetics you want to achieve.
Consider using a grid or template to maintain symmetry and precision, especially if your design is intricate.
Cutting and Placing Tiles
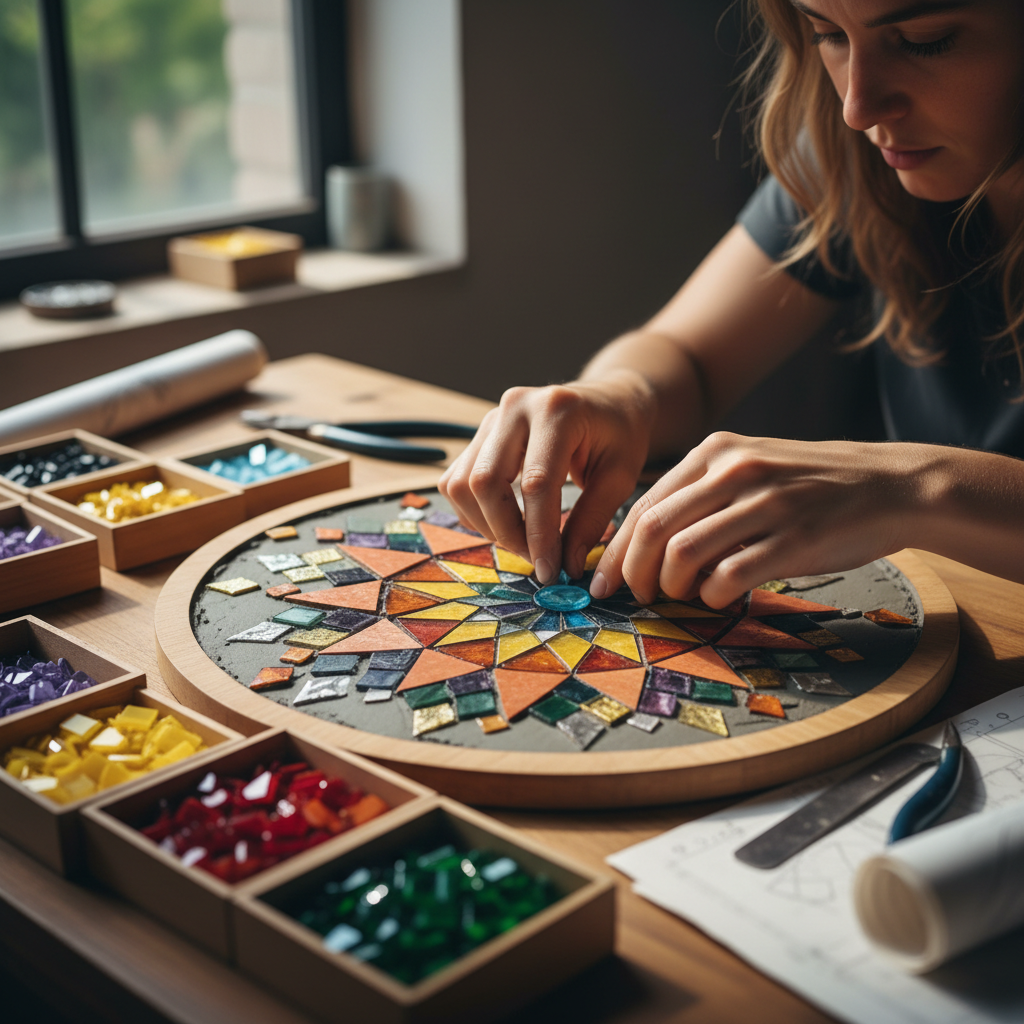
Use tile nippers to cut the tiles into your desired shapes. Carefully arrange the pieces on your base without adhesive first, allowing you to make adjustments. Once satisfied, apply adhesive to the back of each tile and press it firmly onto the base.

Grouting Your Mosaic
After the adhesive has dried, it's time to grout. Mix the grout according to the instructions and apply it over the tiles with a spatula. Ensure all gaps are filled, smoothing the surface as you go.
Wipe away excess grout with a damp sponge, being careful not to disturb the tiles. Allow it to dry completely before proceeding to the next step.
Finishing Touches
Once the grout is dry, polish the tiles with a soft cloth to bring out their natural shine. Seal the mosaic if it's going to be exposed to the elements to protect your work from moisture and wear.
Your DIY mosaic is now complete and ready to be displayed. Enjoy the satisfaction of having created a beautiful piece of art with your own hands!