
DIY Mosaic Art: A Beginner's Guide to Creating Stunning Designs


Introduction to Mosaic Art
Mosaic art is a timeless craft that transforms small pieces of glass, stone, or other materials into intricate designs. Whether you're looking to add a personal touch to your home decor or explore a new creative outlet, mosaic art is accessible and rewarding for beginners. With a few basic tools and techniques, you can start creating your own stunning designs.
Essential Tools and Materials
To get started with mosaic art, you'll need some essential tools and materials. Here's a basic list to help you gather what you need:
- Tiles: Choose from glass, ceramic, or stone tiles based on your design preference.
- Adhesive: A strong glue or thin-set mortar to attach the tiles to your base.
- Grout: Used to fill the gaps between tiles, providing structural integrity and aesthetics.
- Tile Nippers: Essential for cutting tiles into the desired shapes.
- Base Material: This could be anything from a wooden board to a flower pot.
Selecting Your Design
The first step in creating mosaic art is selecting a design. As a beginner, it's best to start with simple patterns or geometric shapes. You can find inspiration in nature, architecture, or online galleries. Sketch your design on paper or directly onto your base material with a pencil. Remember, the complexity of your design will determine the time and patience required.
Preparing Your Workspace
A well-organized workspace is crucial for any DIY project. Make sure you have adequate lighting and a flat surface to work on. Lay down protective sheets or newspapers to catch any stray tile pieces. Gather all your materials within reach so you can work efficiently without interruptions.
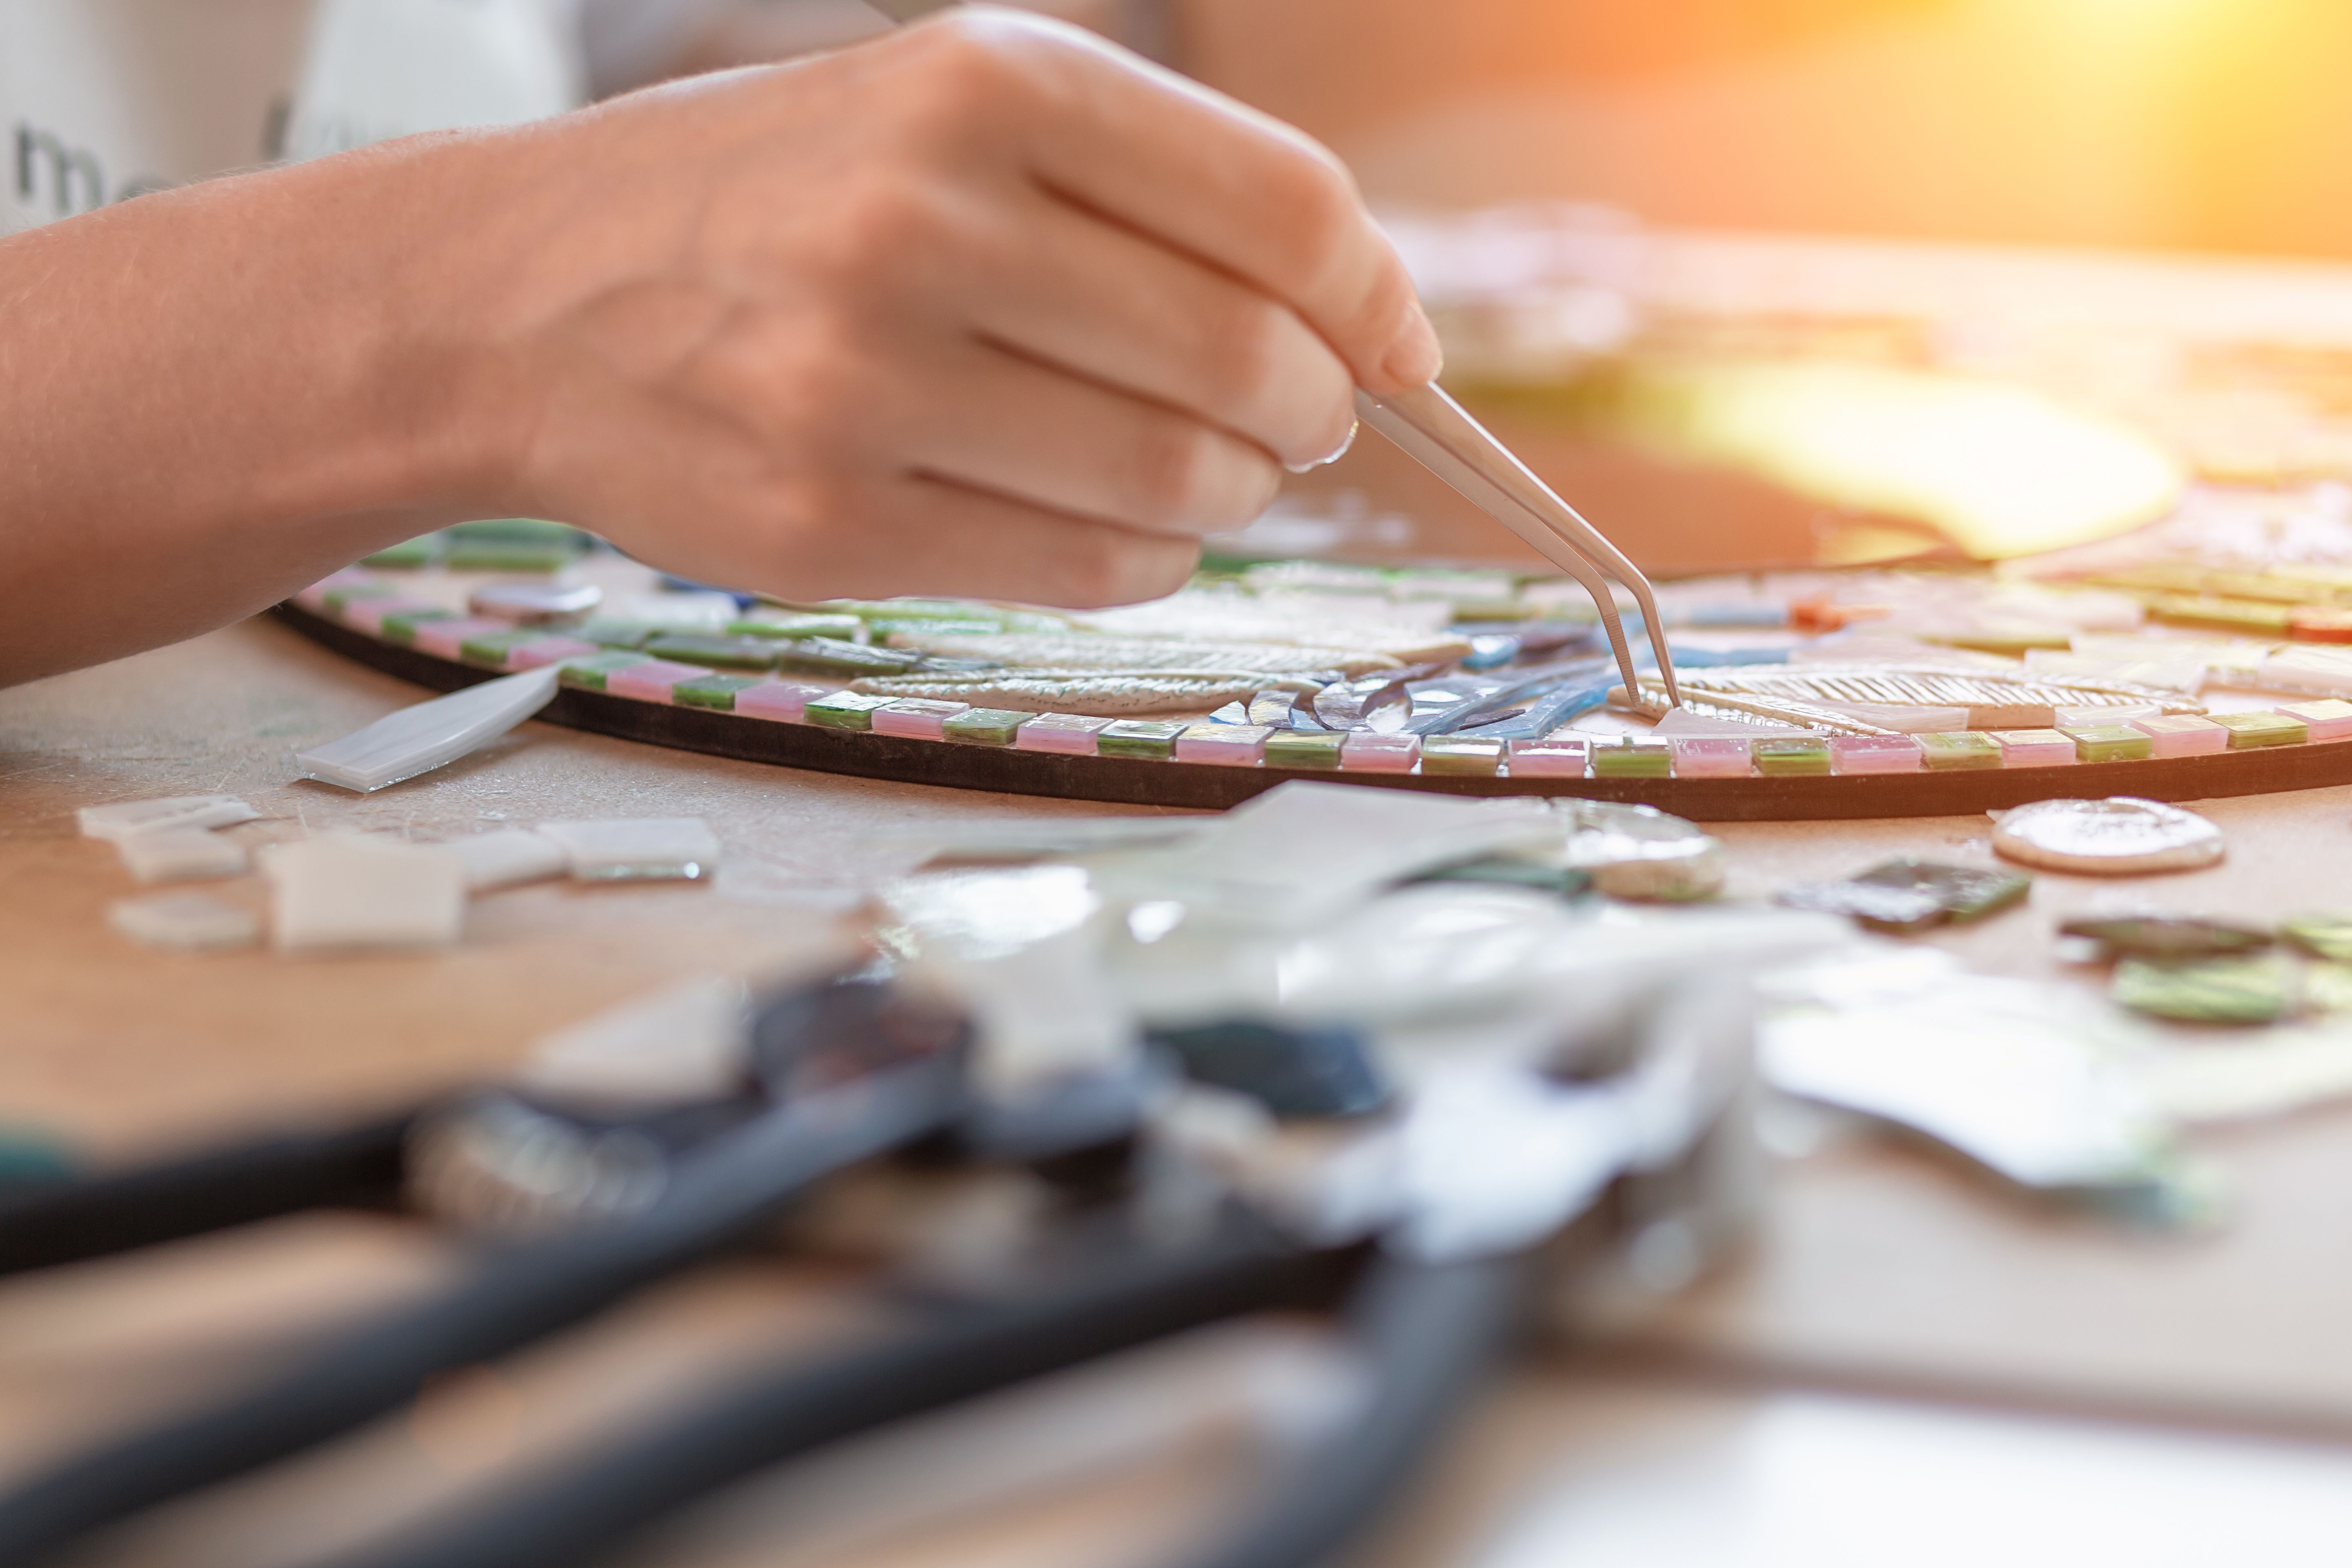
Cutting and Arranging Tiles
Use your tile nippers to cut tiles into smaller pieces that fit your design. This step requires precision and patience, as each piece needs to fit snugly with its neighbors. Arrange the tiles loosely on your base before adhering them to ensure that the design looks cohesive and balanced.
Adhering Tiles to the Base
Once you're satisfied with the arrangement, begin adhering the tiles to your base using the chosen adhesive. Apply a small amount of adhesive to each tile and press it firmly onto the base. Allow the adhesive to set completely before moving on to the next step.

Applying Grout
Grouting is an essential step that fills the spaces between tiles and enhances the overall appearance of your mosaic. Mix the grout according to the manufacturer's instructions and apply it over the tiles using a rubber float. Ensure all gaps are filled and remove excess grout with a damp sponge. Allow the grout to cure as per the instructions.
Finishing Touches
After the grout has cured, clean up any remaining haze on the tile surfaces with a soft cloth. Inspect your mosaic for any loose tiles or imperfections and make necessary adjustments. Optionally, apply a sealant to protect your mosaic from moisture and wear, especially if it's intended for outdoor use.
Creating mosaic art is a rewarding experience that combines creativity with craftsmanship. As you gain confidence in your skills, you'll be able to tackle more complex designs and even create personalized gifts for friends and family. Embrace this ancient art form and let your imagination guide you!