
How to Create Stunning Mosaics: Step-by-Step Guide for Beginners


Getting Started with Mosaics
Mosaics are a beautiful and intricate form of art that can transform ordinary surfaces into stunning visual displays. Whether you are looking to add a personal touch to your home or create a unique gift, learning how to make mosaics can be a rewarding experience. With a few simple tools and materials, beginners can easily get started on their mosaic journey.
Materials and Tools You'll Need
To create your first mosaic, you'll need some basic materials and tools. Here’s a list to help you gather everything:
- Tiles or Tesserae: These are the small pieces that make up the mosaic. You can use glass, ceramic, stone, or even broken pottery.
- Adhesive: A strong glue or mortar is necessary to attach the tiles to your base.
- Base: Choose a sturdy surface like wood, metal, or concrete.
- Grout: This is used to fill the gaps between tiles, providing stability and a finished look.
- Tools: Tile nippers, spatula, and safety goggles are essential for cutting and placing tiles.
Choosing Your Design
Before you begin, it’s crucial to decide on a design. Start with something simple, like geometric patterns or abstract shapes. You can find inspiration online or sketch your own design. Ensure that the complexity of the design matches your skill level to avoid frustration during the process.

Preparing Your Base
The base is the foundation of your mosaic, so it needs to be prepared properly. Clean the surface thoroughly to ensure that the adhesive sticks well. If you're using wood, consider sealing it to prevent moisture damage. Once your base is ready, you can transfer your design onto it using a pencil or chalk.
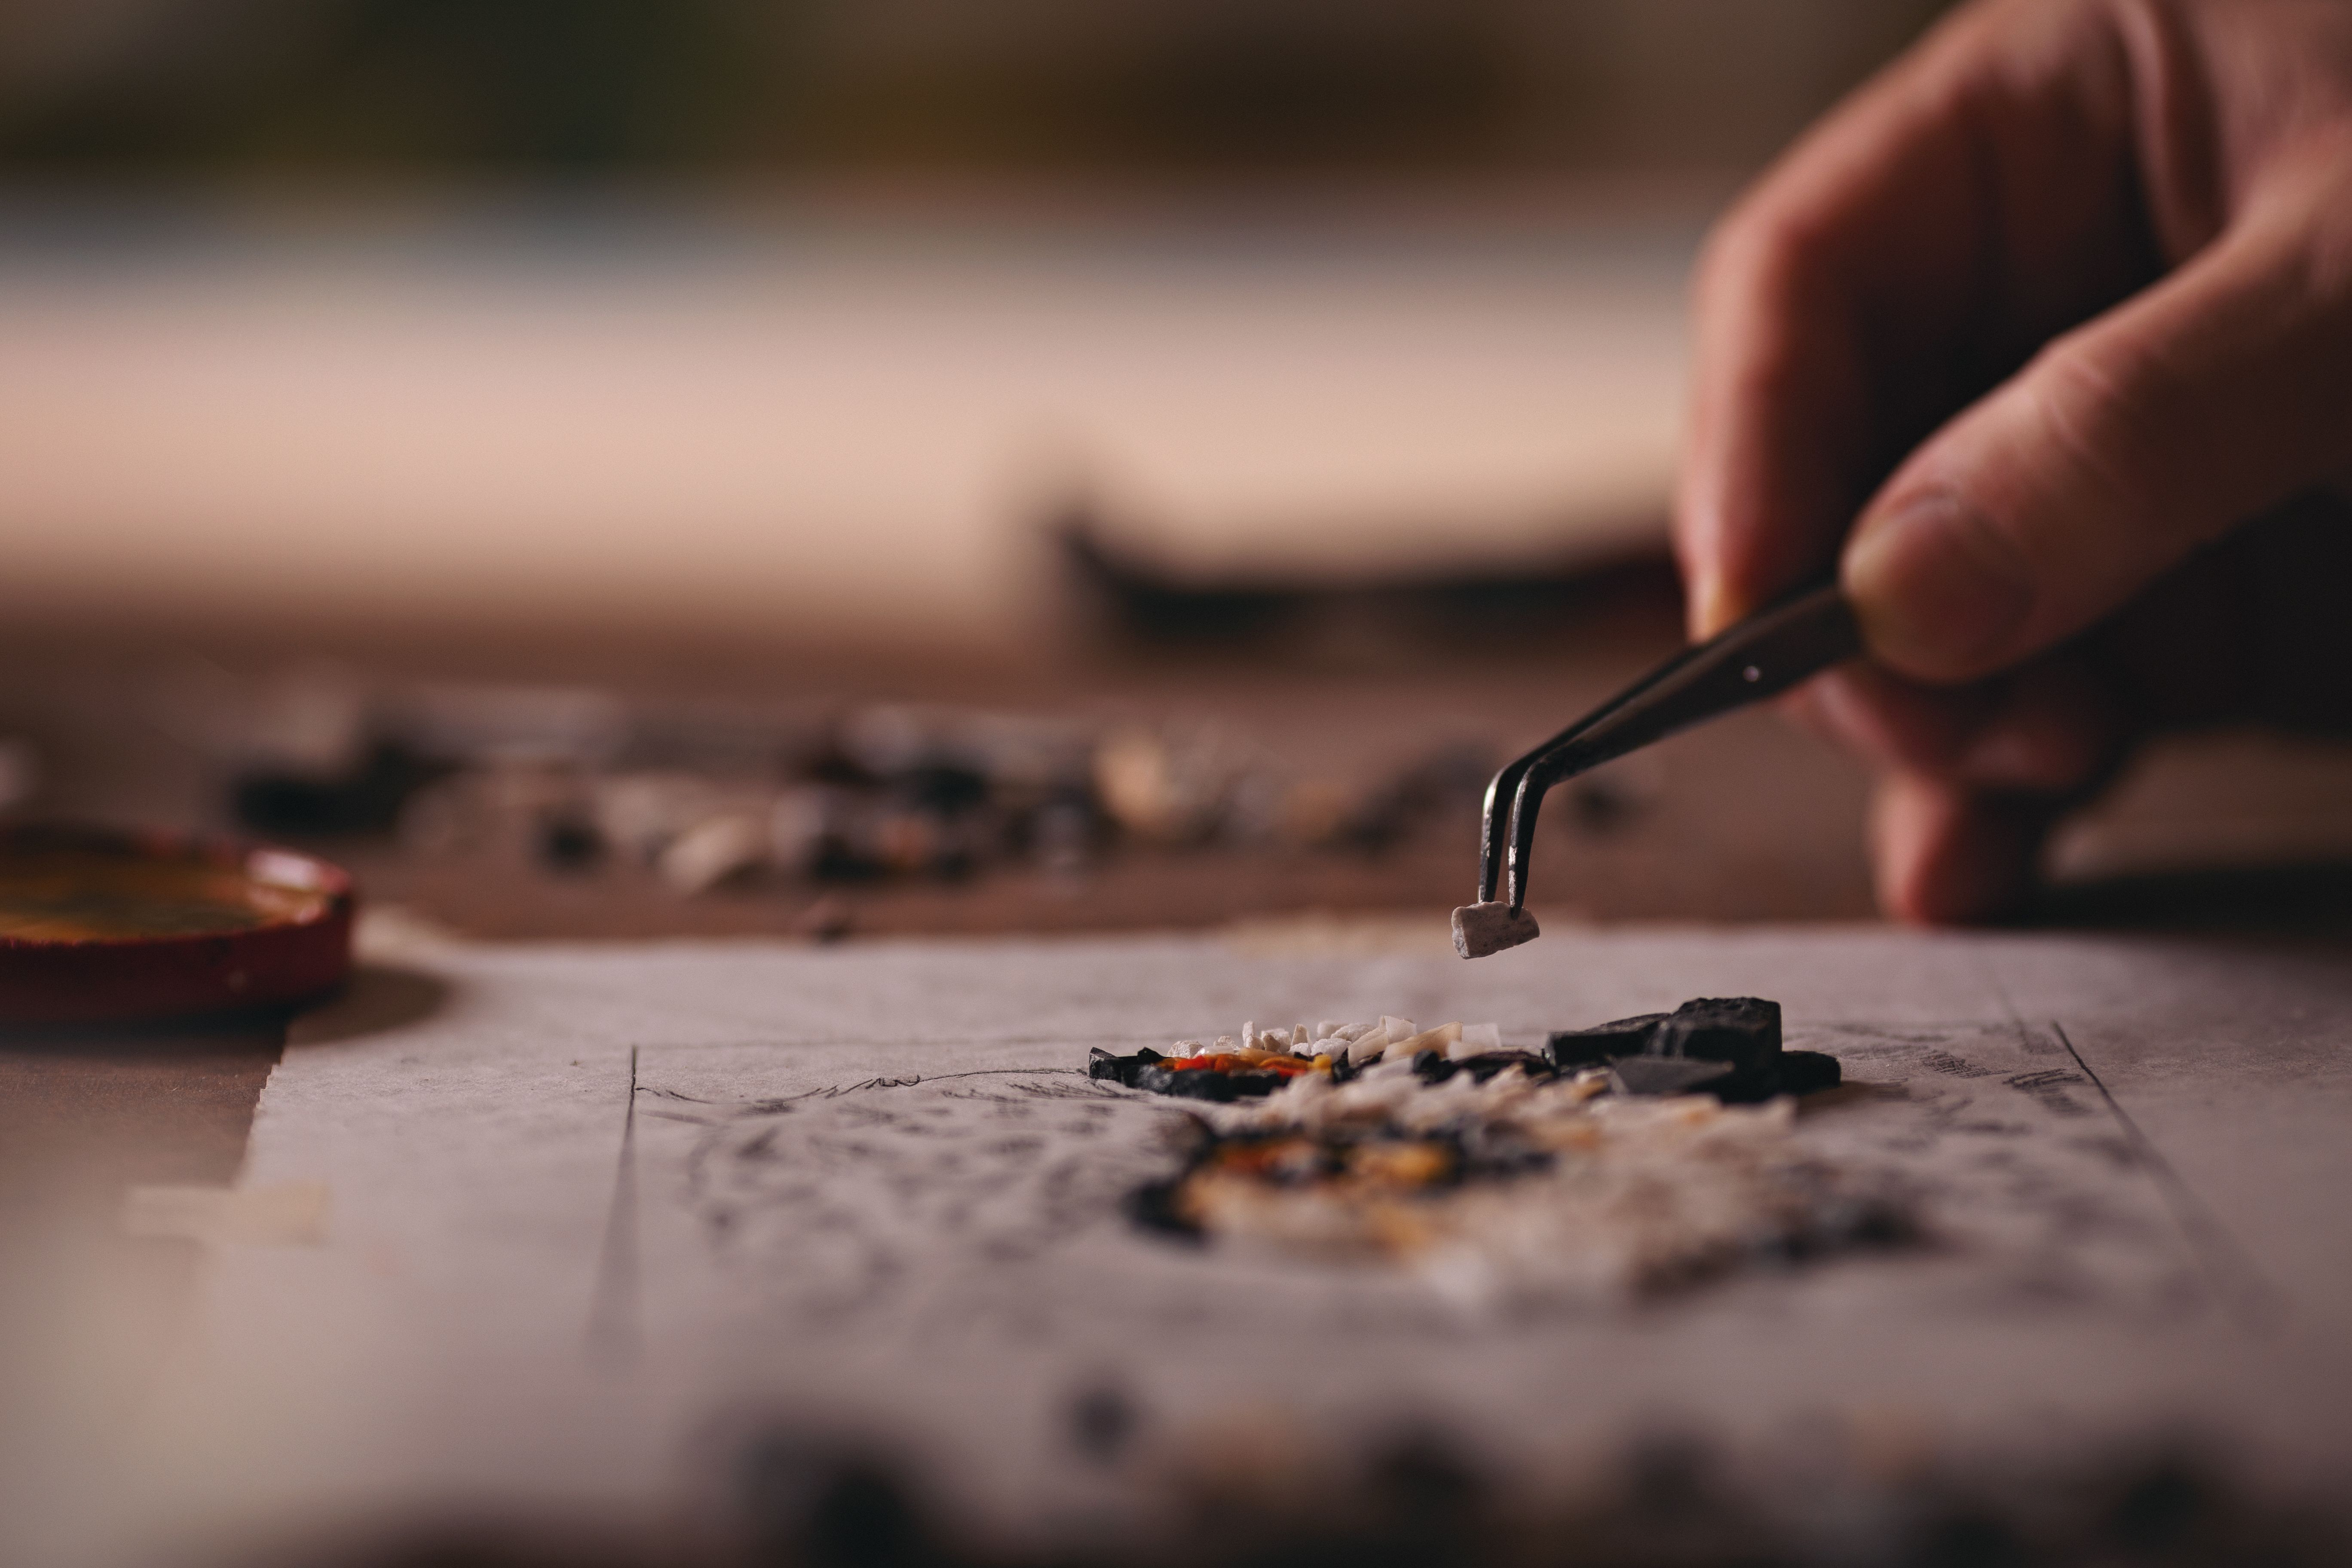
Cutting and Arranging Tiles
Now comes the fun part: cutting and arranging your tiles. Use tile nippers to carefully cut tiles into the desired shapes. Arrange them on your base according to your design without applying adhesive yet. This allows you to adjust the pieces until you're satisfied with the layout.
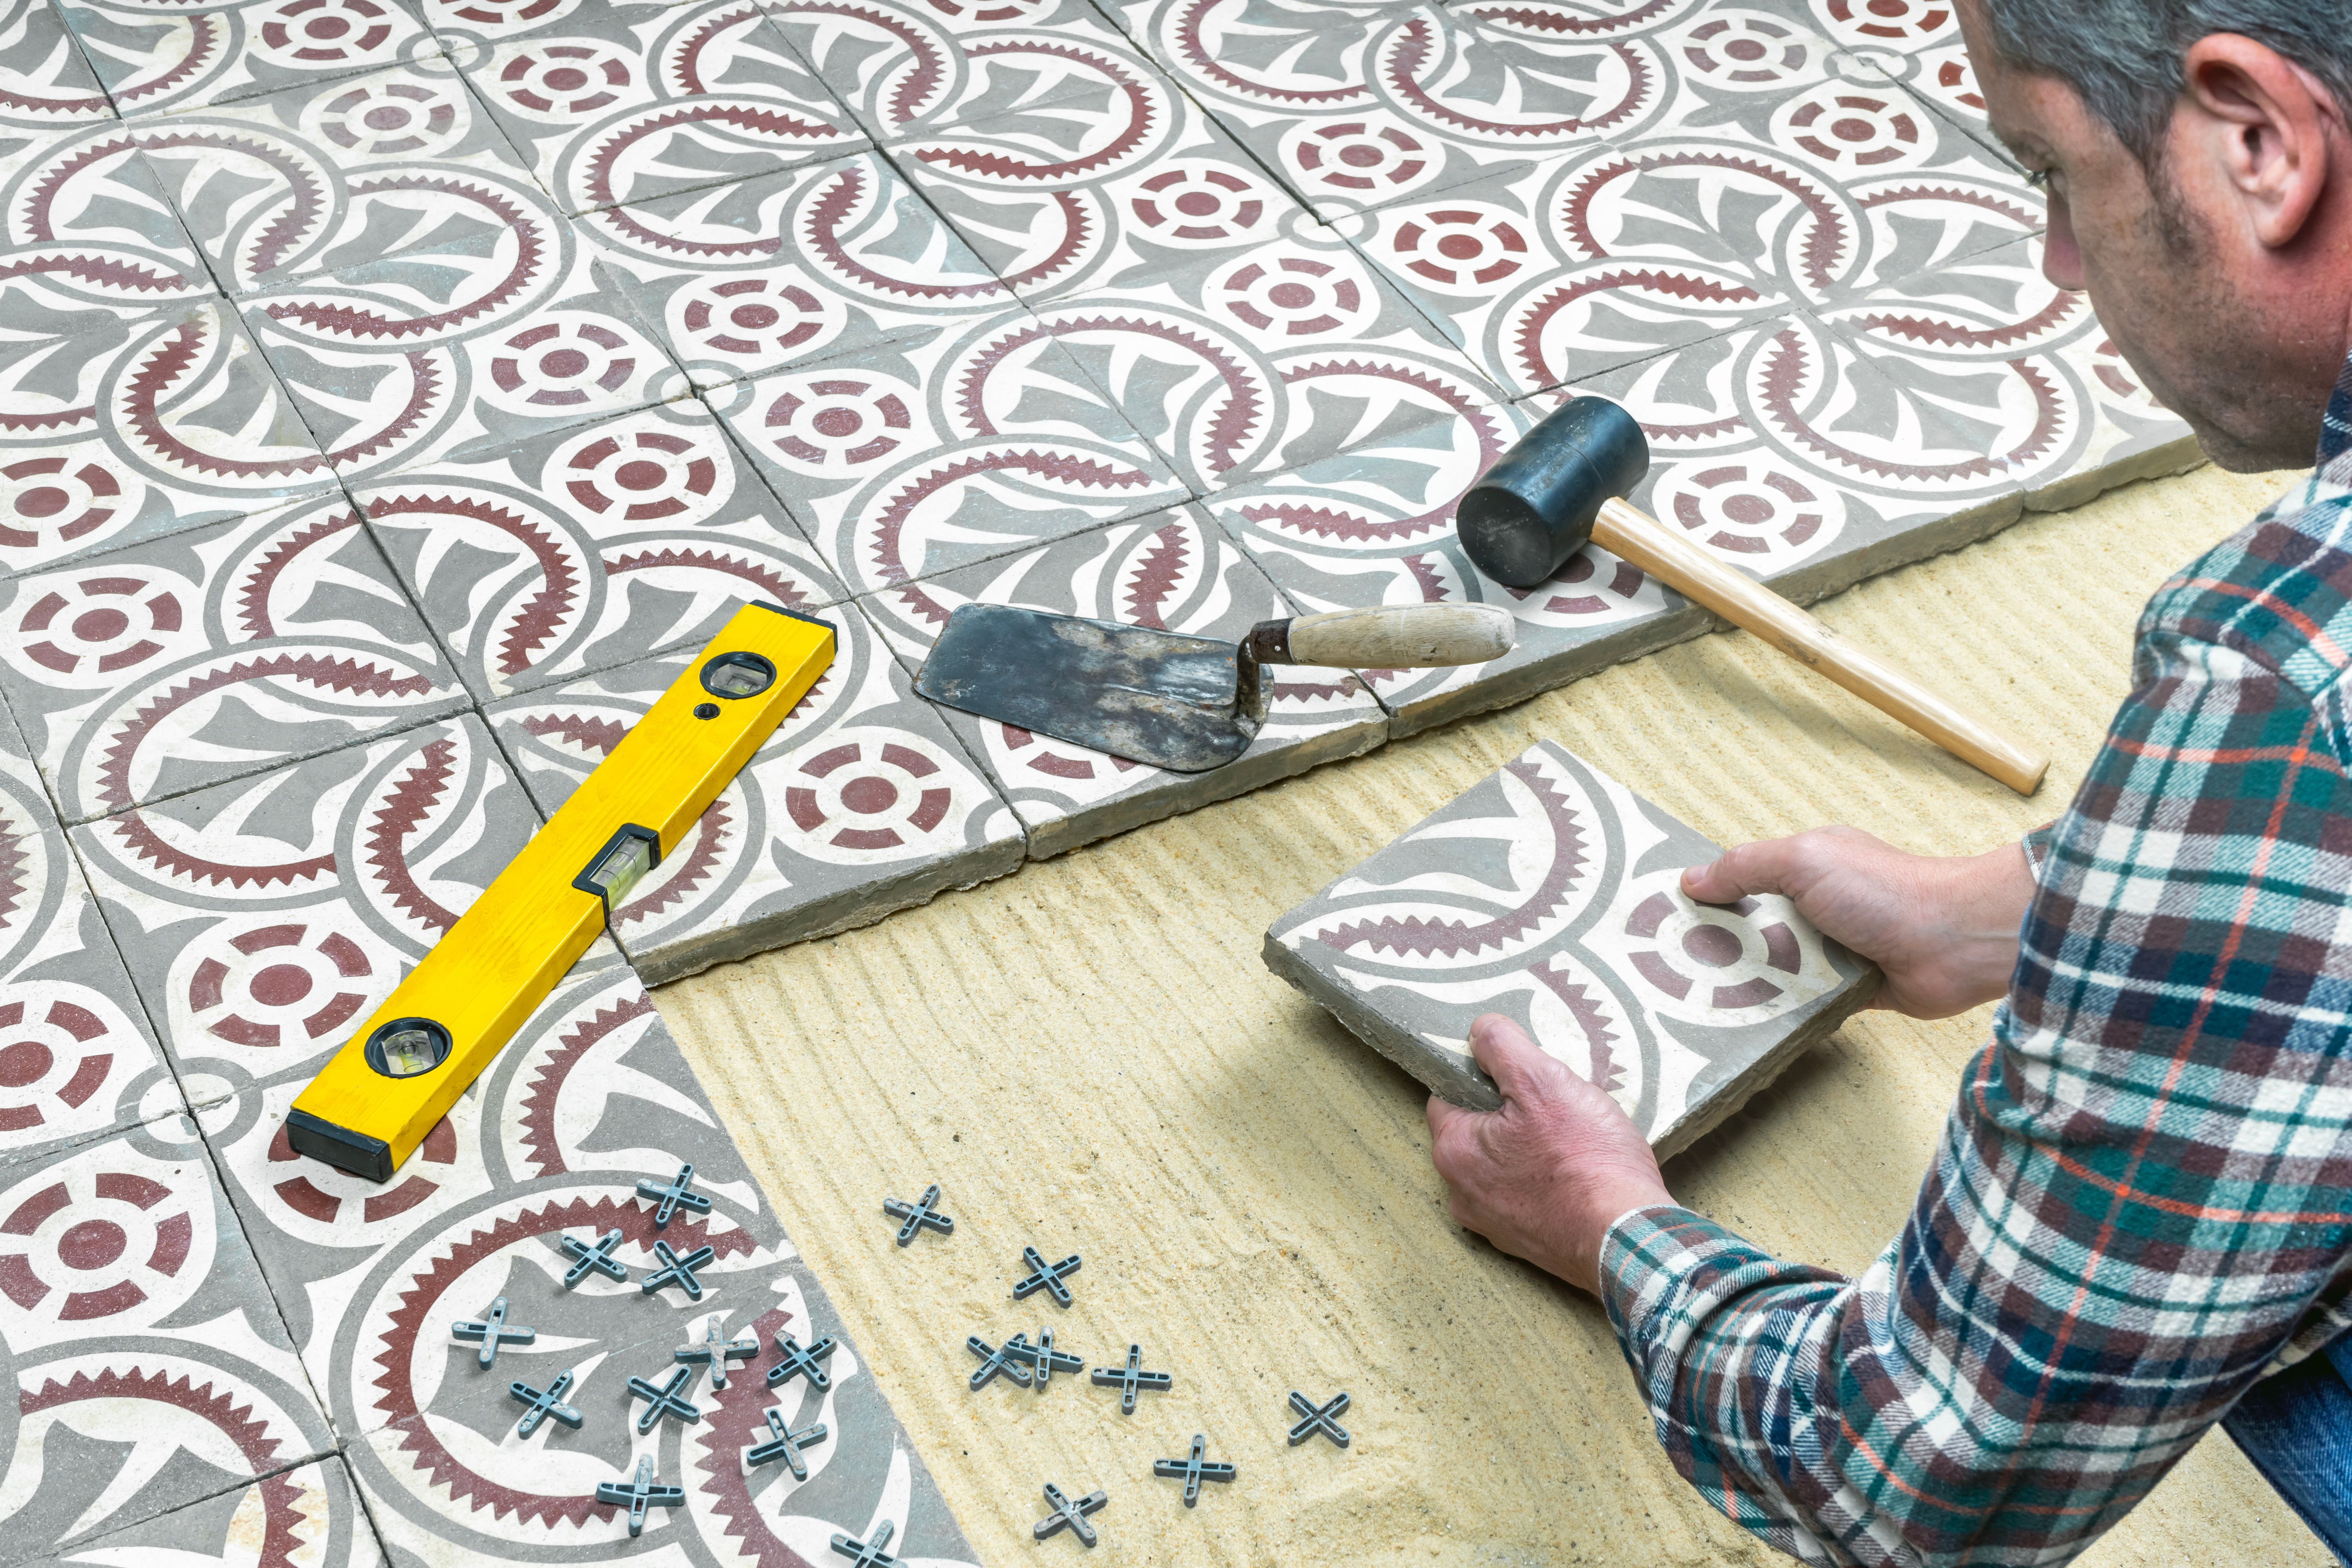
Applying Adhesive and Setting Tiles
Once you're happy with the arrangement, it's time to apply the adhesive. Spread it evenly over a small section of your base with a spatula. Press each tile firmly into the adhesive, ensuring they are level with one another. Work in sections to prevent the adhesive from drying out before all tiles are placed.
Grouting Your Mosaic
After letting the adhesive dry completely, you can begin grouting. Mix the grout according to package instructions and apply it over the entire mosaic with a rubber float. Make sure to push the grout into all gaps between tiles. Remove excess grout with a damp sponge, being careful not to disturb the tiles.
Finishing Touches
Once the grout has set, usually after 24 hours, you can polish the tiles with a soft cloth to bring out their shine. If desired, seal your mosaic with a protective sealant to enhance its durability and make it easier to clean in the future.
Displaying Your Masterpiece
Your mosaic is now complete! Find a suitable location to display your work where it will be appreciated and admired. Whether it's a garden stepping stone or an indoor wall hanging, your creation will add beauty and personality to any space.
With practice and creativity, you'll soon be crafting mosaics that captivate and inspire. Happy mosaicking!