
How to Create Stunning Mosaics at Home: Tips from Brush with Art


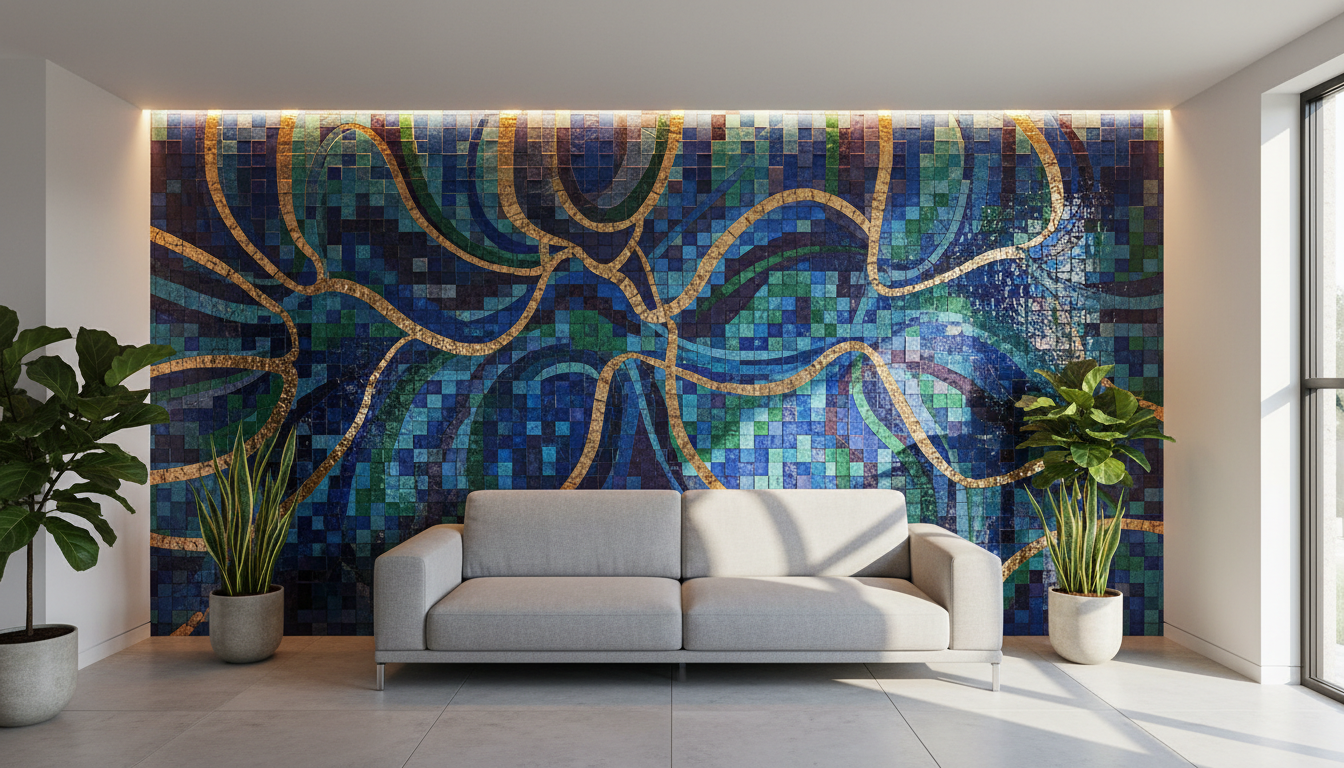
Creating mosaics at home can be a rewarding and artistic endeavor that adds a personal touch to your living space. With the right materials and techniques, you can craft stunning designs that showcase your creativity. At Brush with Art, we believe that anyone can master the art of mosaic-making with a little guidance and inspiration.
Choosing Your Materials
The first step in creating a beautiful mosaic is selecting the right materials. Traditionally, mosaics are made using small pieces of colored glass, stone, or ceramic called tesserae. You can find these materials at most art supply stores or online. Consider using recycled materials like broken dishes or glass for a unique and eco-friendly touch.
Make sure to have a base ready for your mosaic, such as a wooden board or a sturdy table. The choice of adhesive is also crucial; opt for a strong adhesive that suits the materials you’re using, like a thinset mortar for tiles.
Designing Your Mosaic
Before you start gluing pieces together, sketch your design on paper. This will help you visualize the final product and make adjustments before committing. Consider the color scheme and overall style you want to achieve. You might want a geometric pattern, a floral design, or even a landscape scene.
Once you’re satisfied with your sketch, transfer the design onto your base using a pencil. This will serve as a guide as you begin placing your tesserae.
Cutting and Shaping Tesserae
To achieve intricate designs, you may need to cut or shape your tesserae. Use tile nippers or a glass cutter for precision. Always wear protective goggles when cutting materials to ensure safety. Practice makes perfect, so don’t worry if your first few cuts aren’t perfect.

Assembling Your Mosaic
Start gluing your tesserae from the center of your design and work towards the edges. This method helps maintain symmetry and balance. Apply adhesive to the back of each piece and press it firmly onto the base. Leave small gaps between pieces for grout.
Be patient and take your time with this step. It’s important to ensure each piece is securely attached and aligned correctly. You can use spacers to maintain consistent gaps if needed.
Grouting Your Mosaic
Once all pieces are glued and the adhesive has dried, it’s time to apply grout. Choose a grout color that complements your design. Mix the grout according to the package instructions and spread it over the mosaic, pressing it into the gaps with a rubber float.
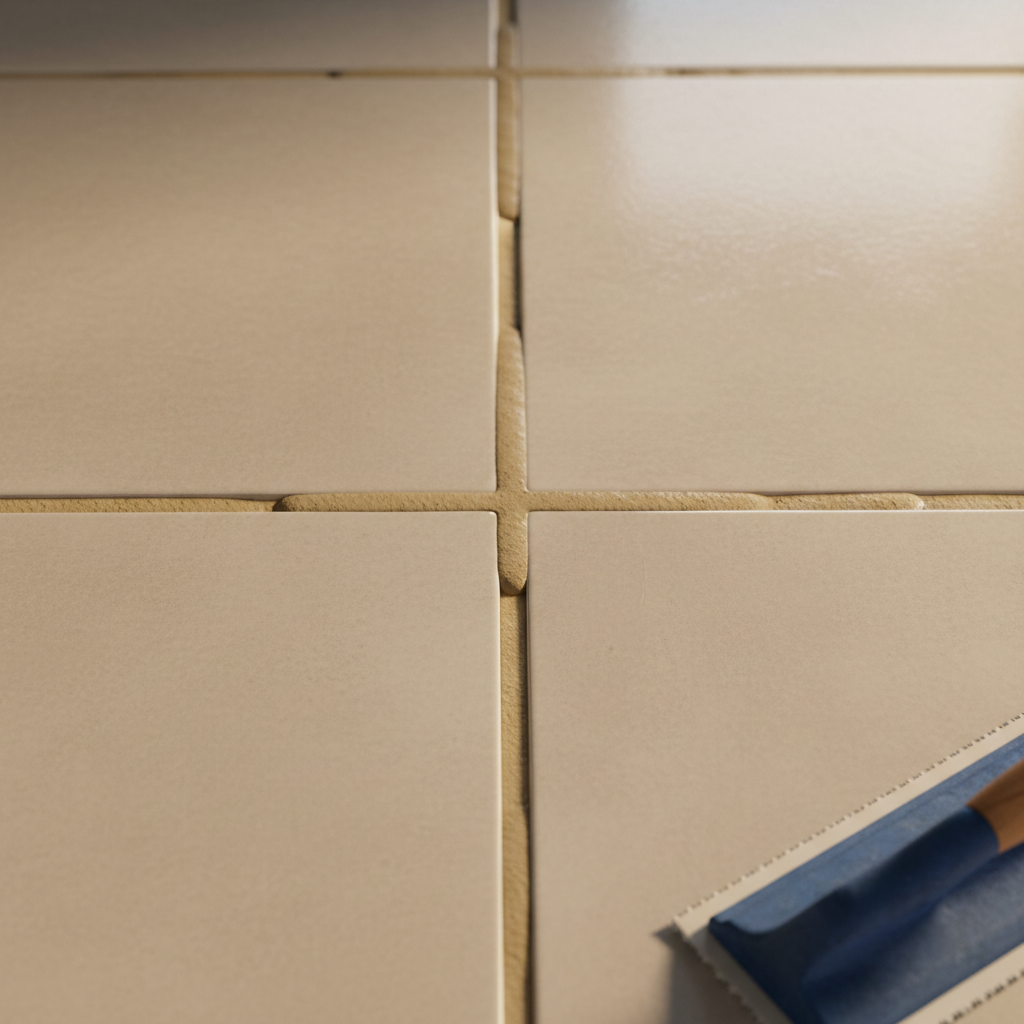
After the grout has set slightly, wipe the surface with a damp sponge to remove excess grout from the tesserae. Let the grout cure as directed, typically 24 hours, and then polish the tiles with a soft cloth for a clean finish.
Final Touches
After the grout has fully cured, inspect your mosaic for any loose pieces or gaps. You can touch up these areas with a small amount of adhesive or grout. Finally, consider sealing your mosaic with a clear sealant to protect it from moisture and damage.
Creating a mosaic is a fulfilling project that allows for endless creativity. Whether you’re a beginner or an experienced artist, the process of designing and assembling a mosaic offers both challenges and rewards. Enjoy the journey and let your artistic flair shine through.