
How to Start Mosaic Projects at Home: A Beginner's Guide from Brush with Art Experts


Starting a mosaic project at home can be a rewarding and creative endeavor. Whether you want to add a splash of color to your garden or create a personalized piece of art for your living room, mosaics offer endless possibilities. Here’s how you can begin your mosaic journey with advice from Brush with Art experts.
Gathering Your Materials
The first step in starting any mosaic project is gathering your materials. You will need tiles, a base, adhesive, grout, and tools like nippers and cutters. Tiles can be made from glass, ceramic, or even stone depending on your preference. Many craft stores offer kits that include everything you need to get started.

Choosing the right base is crucial. Common options include wood, metal, or concrete. Ensure the base is sturdy enough to support the weight of the tiles. Once you have your base, you can start planning your design.
Designing Your Mosaic
Before you start placing tiles, sketch your design on paper. This will give you a clear vision of the final product and help you decide on color schemes and tile placement. If you’re new to mosaics, consider starting with a simple pattern or replicating an existing design.
Once you have your design, transfer it onto the base using a pencil. This will act as your guide as you begin placing tiles. Remember, planning is key to a successful mosaic project.

Placing Your Tiles
With your design drawn out, it’s time to start placing your tiles. Use tile nippers to cut tiles into the desired shapes. Apply a small amount of adhesive to the back of each tile and press it firmly onto the base following your design. Work in small sections to prevent the adhesive from drying out too quickly.
Make sure to leave spaces between the tiles for grout. These gaps will add dimension to your design and help hold the tiles in place. Once all the tiles are placed, allow the adhesive to dry completely before moving on to the next step.
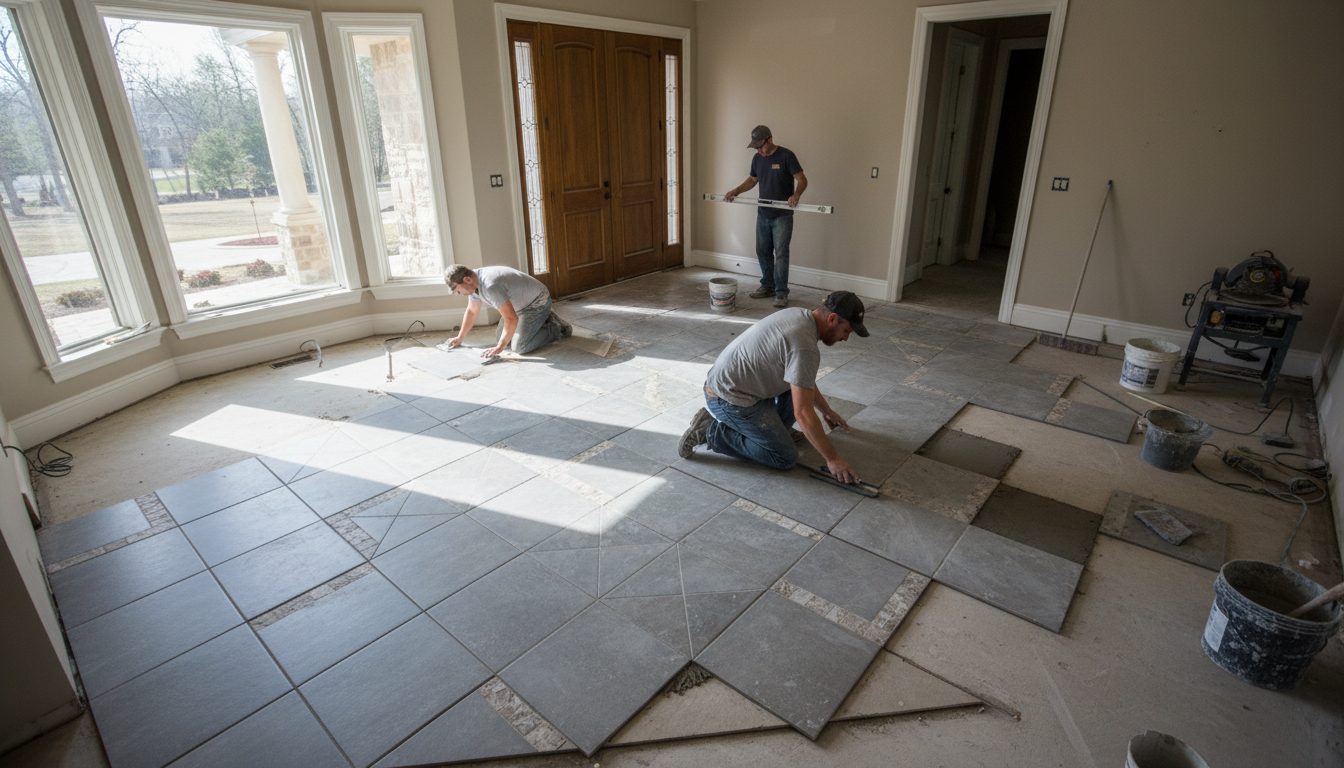
Applying Grout
Grouting is an essential part of the mosaic process. It fills the gaps between the tiles and helps keep everything in place. Choose a grout color that complements your design. Mix the grout according to the package instructions and use a spatula to apply it over the entire surface.
Wipe away any excess grout with a damp sponge, being careful not to disturb the tiles. Allow the grout to cure fully, which usually takes about 24 hours. Once dry, polish the tiles with a soft cloth to remove any haze.
Finishing Touches
Your mosaic project is almost complete! Consider applying a sealant to protect your artwork, especially if it will be placed outdoors. Sealants help prevent water damage and ensure the longevity of your mosaic.

Now, stand back and admire your creation. Mosaics are not only a form of art but also a fantastic way to express your creativity and add a personal touch to your home. With practice and patience, your skills will grow, and you’ll be ready to tackle more complex projects.