
The Art of Fused Glass: A Step-by-Step Guide for Beginners


Introduction to Fused Glass Art
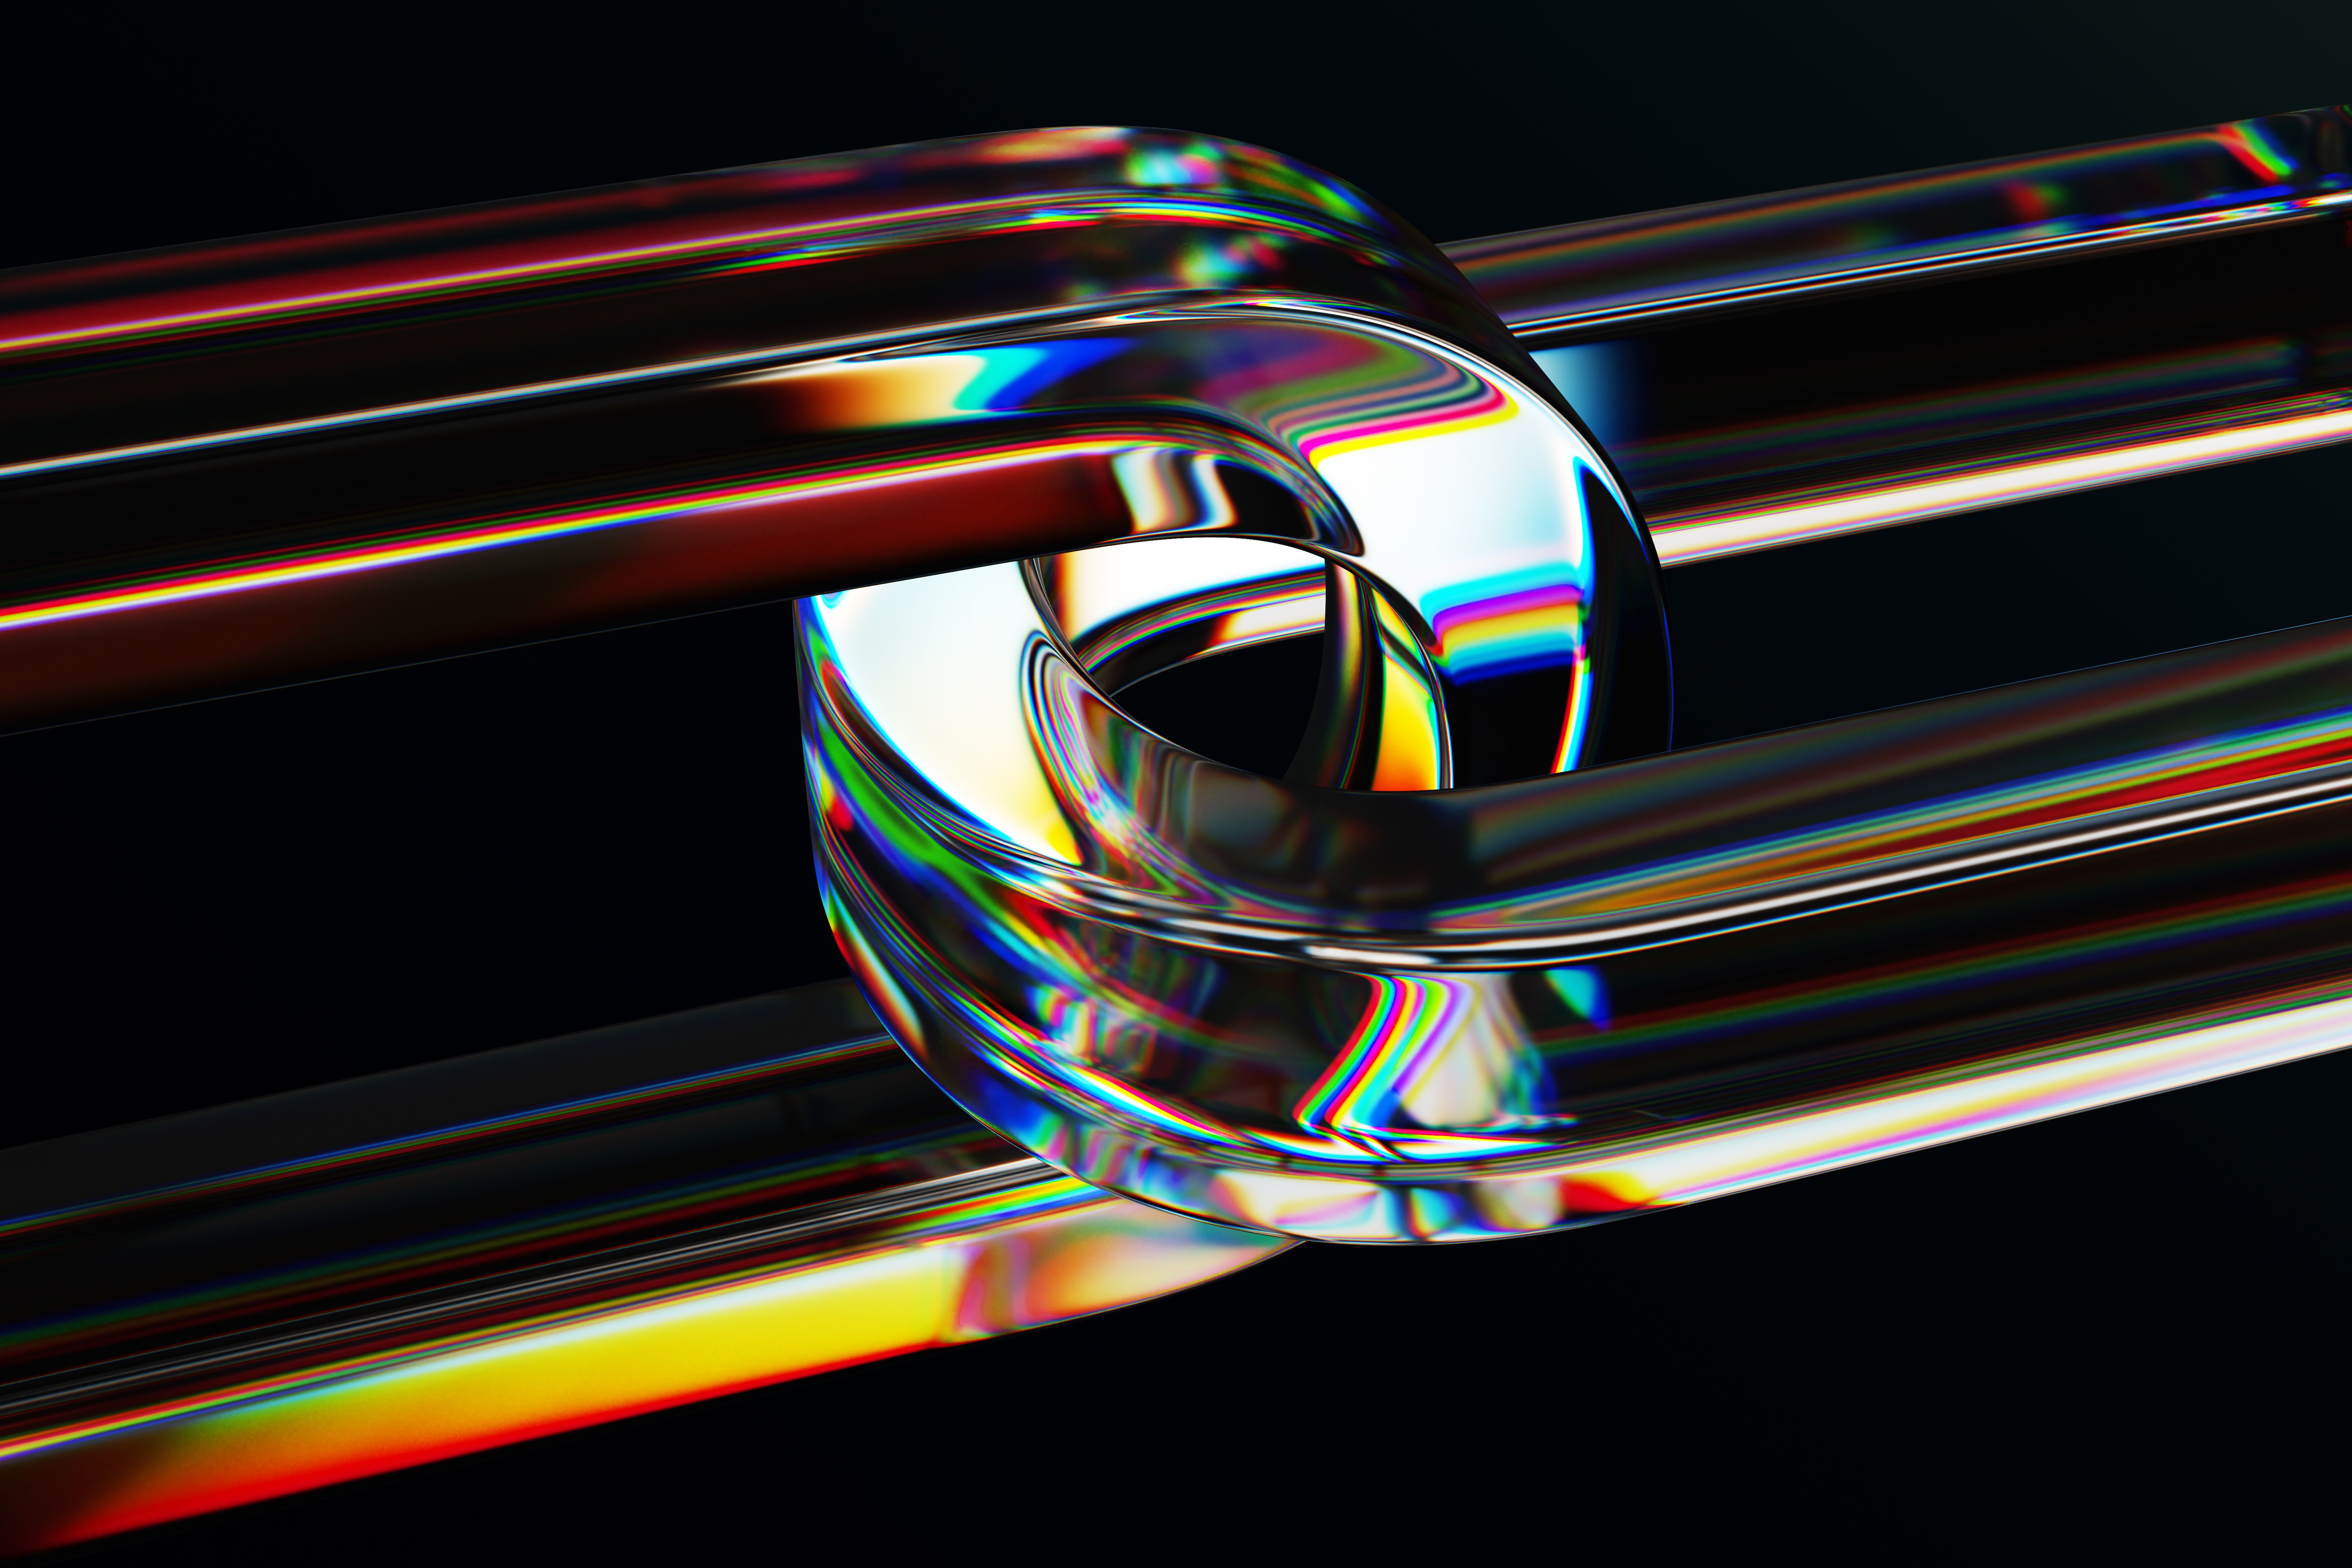
Fused glass art, a captivating and colorful craft, involves melting pieces of glass together to create stunning designs. This art form allows for endless creativity, as artists can experiment with various colors, shapes, and textures. Whether you're looking to create decorative pieces or functional items, fused glass offers a rewarding experience for beginners.
Essential Materials and Tools
Before diving into fused glass art, you'll need to gather some essential materials and tools. These include:
- Glass sheets – Available in various colors and types, such as transparent, opaque, and iridescent.
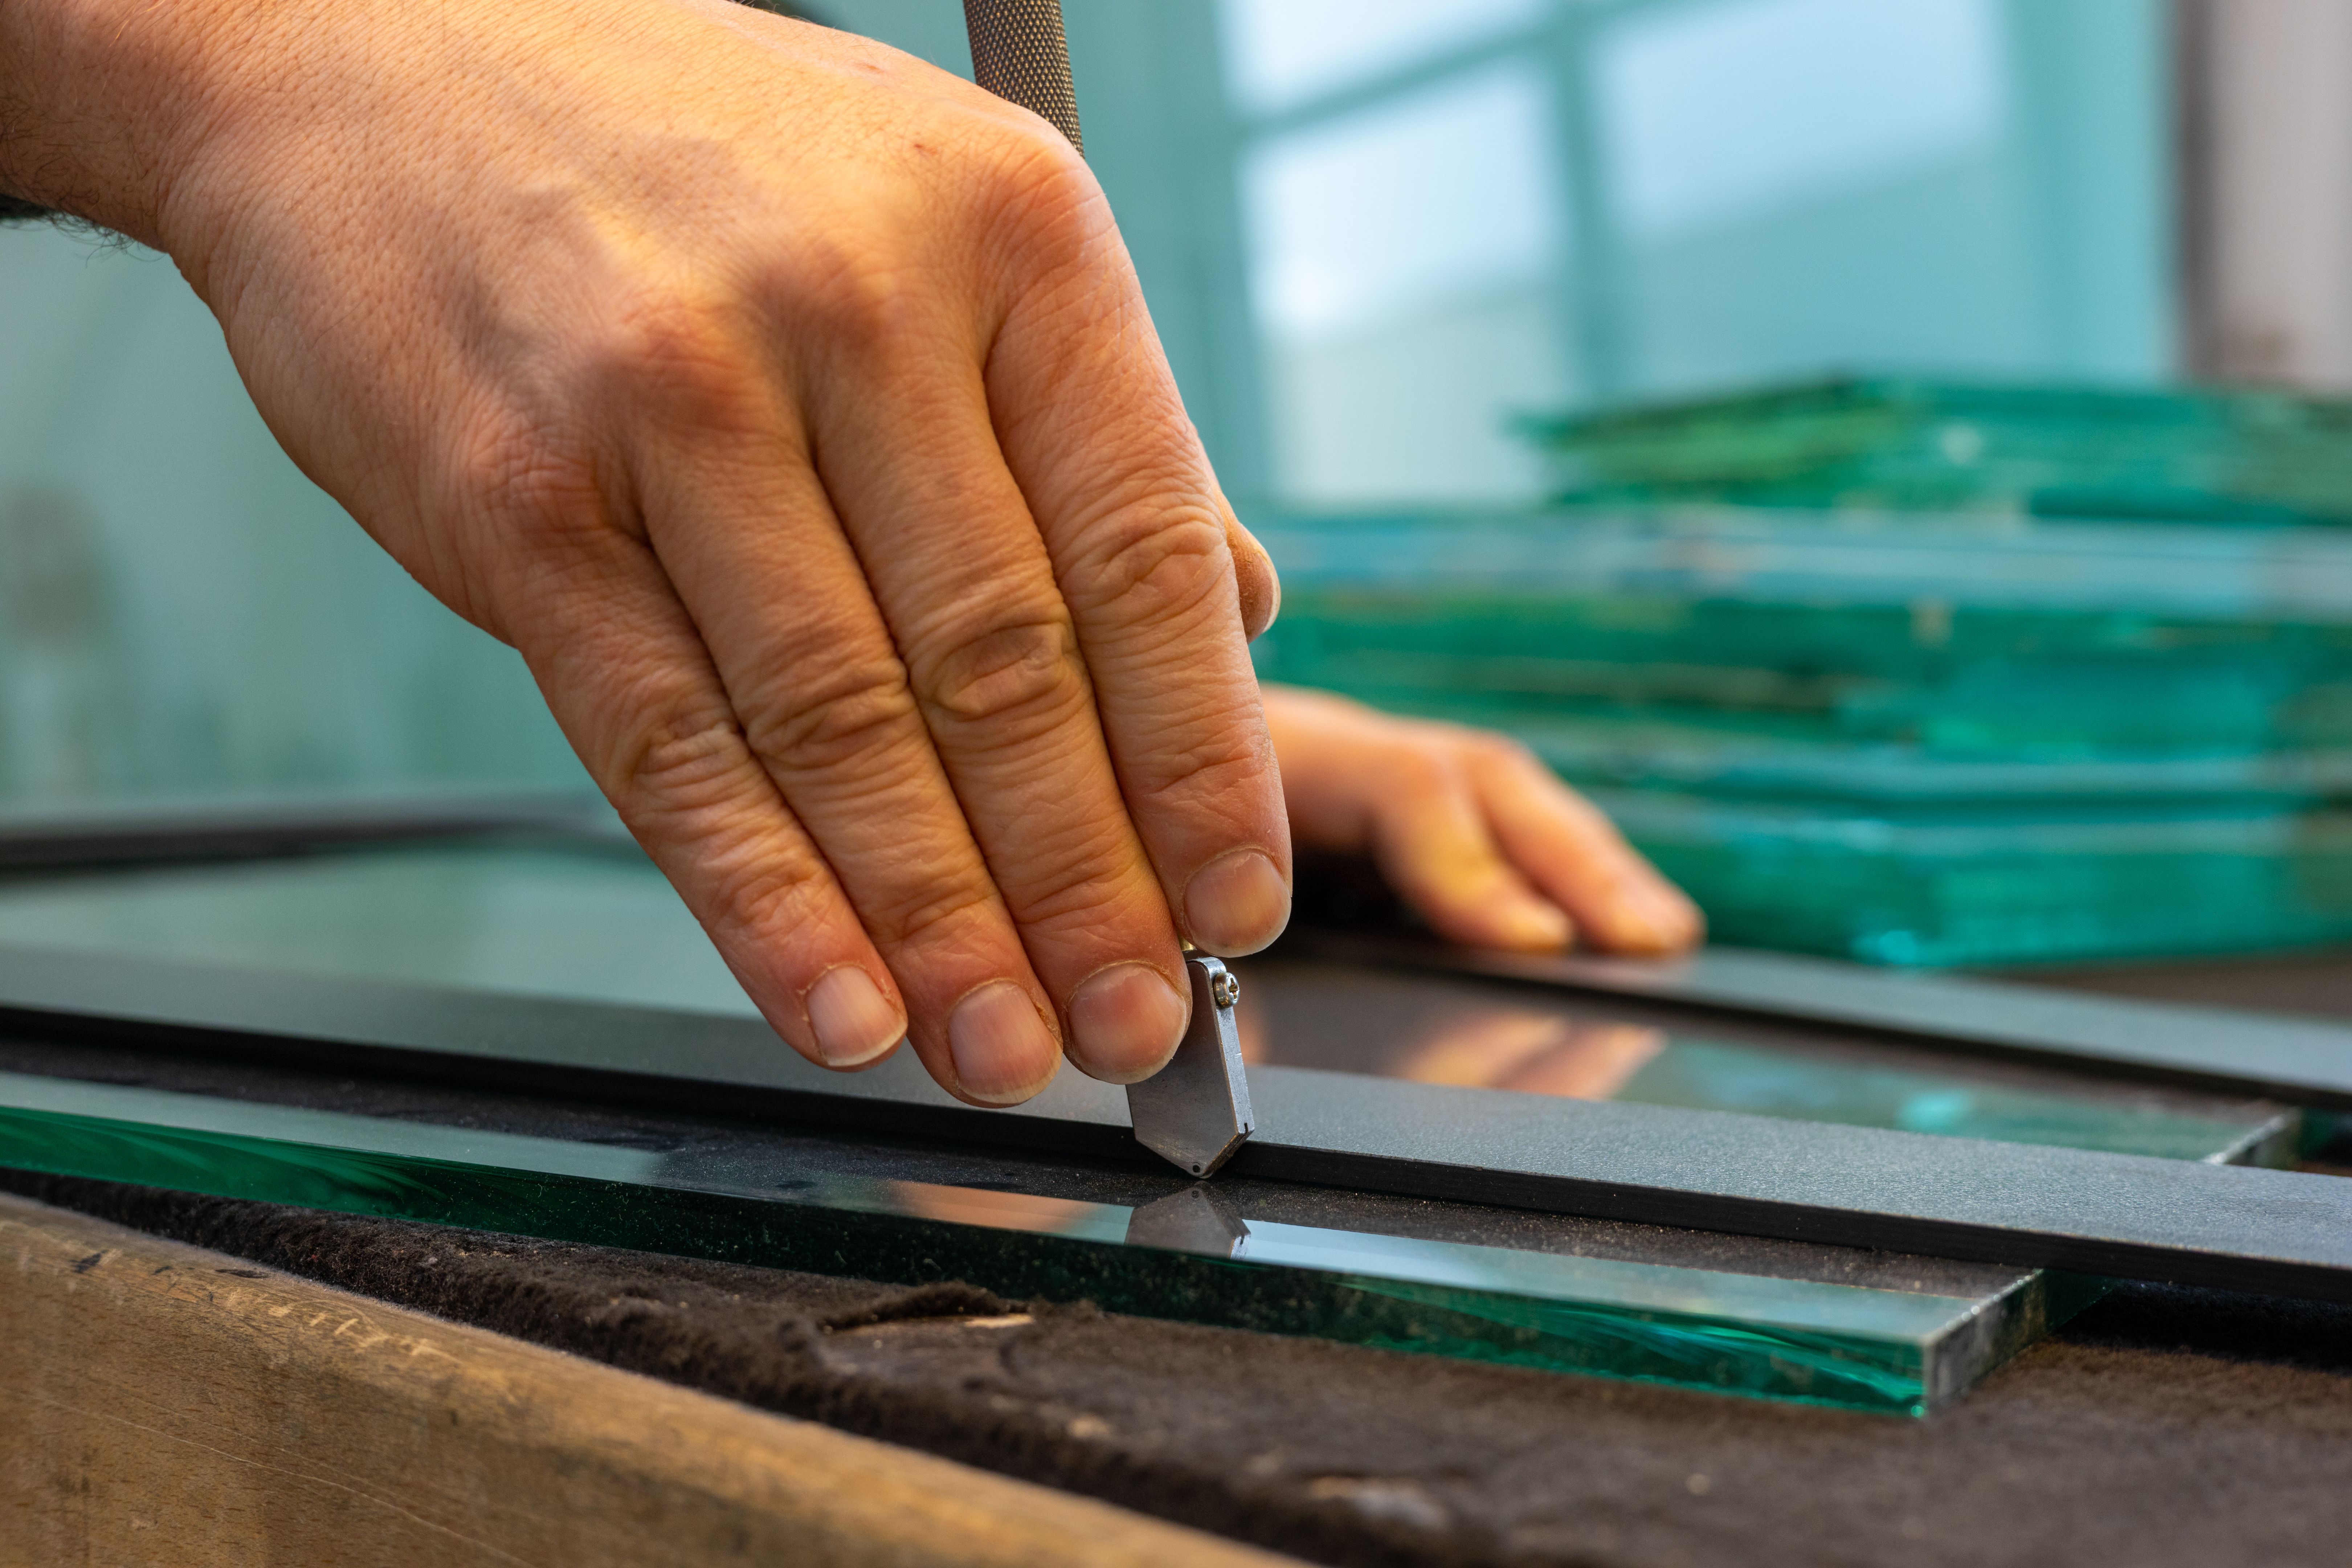
- Glass cutter – A tool to score and cut glass sheets into desired shapes.
- Nippers – Used for breaking off small pieces of glass.
- Kiln – Necessary for fusing the glass pieces together.
- Safety gear – Includes goggles and gloves to protect yourself during the process.
Preparing Your Workspace
A well-organized workspace is crucial for successful fused glass projects. Ensure you have a clean, flat surface to work on, with ample lighting. Keep your tools within reach and store glass sheets securely to prevent any accidents.

Designing Your Piece
Designing is an exciting step in the fused glass process. Start by sketching your ideas on paper, considering the colors and shapes you want to incorporate. Remember, simplicity often leads to striking results, especially for beginners.
Cutting and Arranging the Glass
Once you have a design in mind, use your glass cutter to score and cut the glass sheets into the desired shapes. Arrange these pieces on a kiln shelf, experimenting with different layouts until you achieve your desired look. Feel free to layer glass pieces for added depth and dimension.
Firing the Glass
Firing is a crucial step in fusing the glass pieces together. Carefully place your arranged glass in the kiln, ensuring there's enough space between pieces to prevent them from sticking together during the firing process. Follow the kiln's instructions for temperature settings and firing time.
Cooling and Finishing
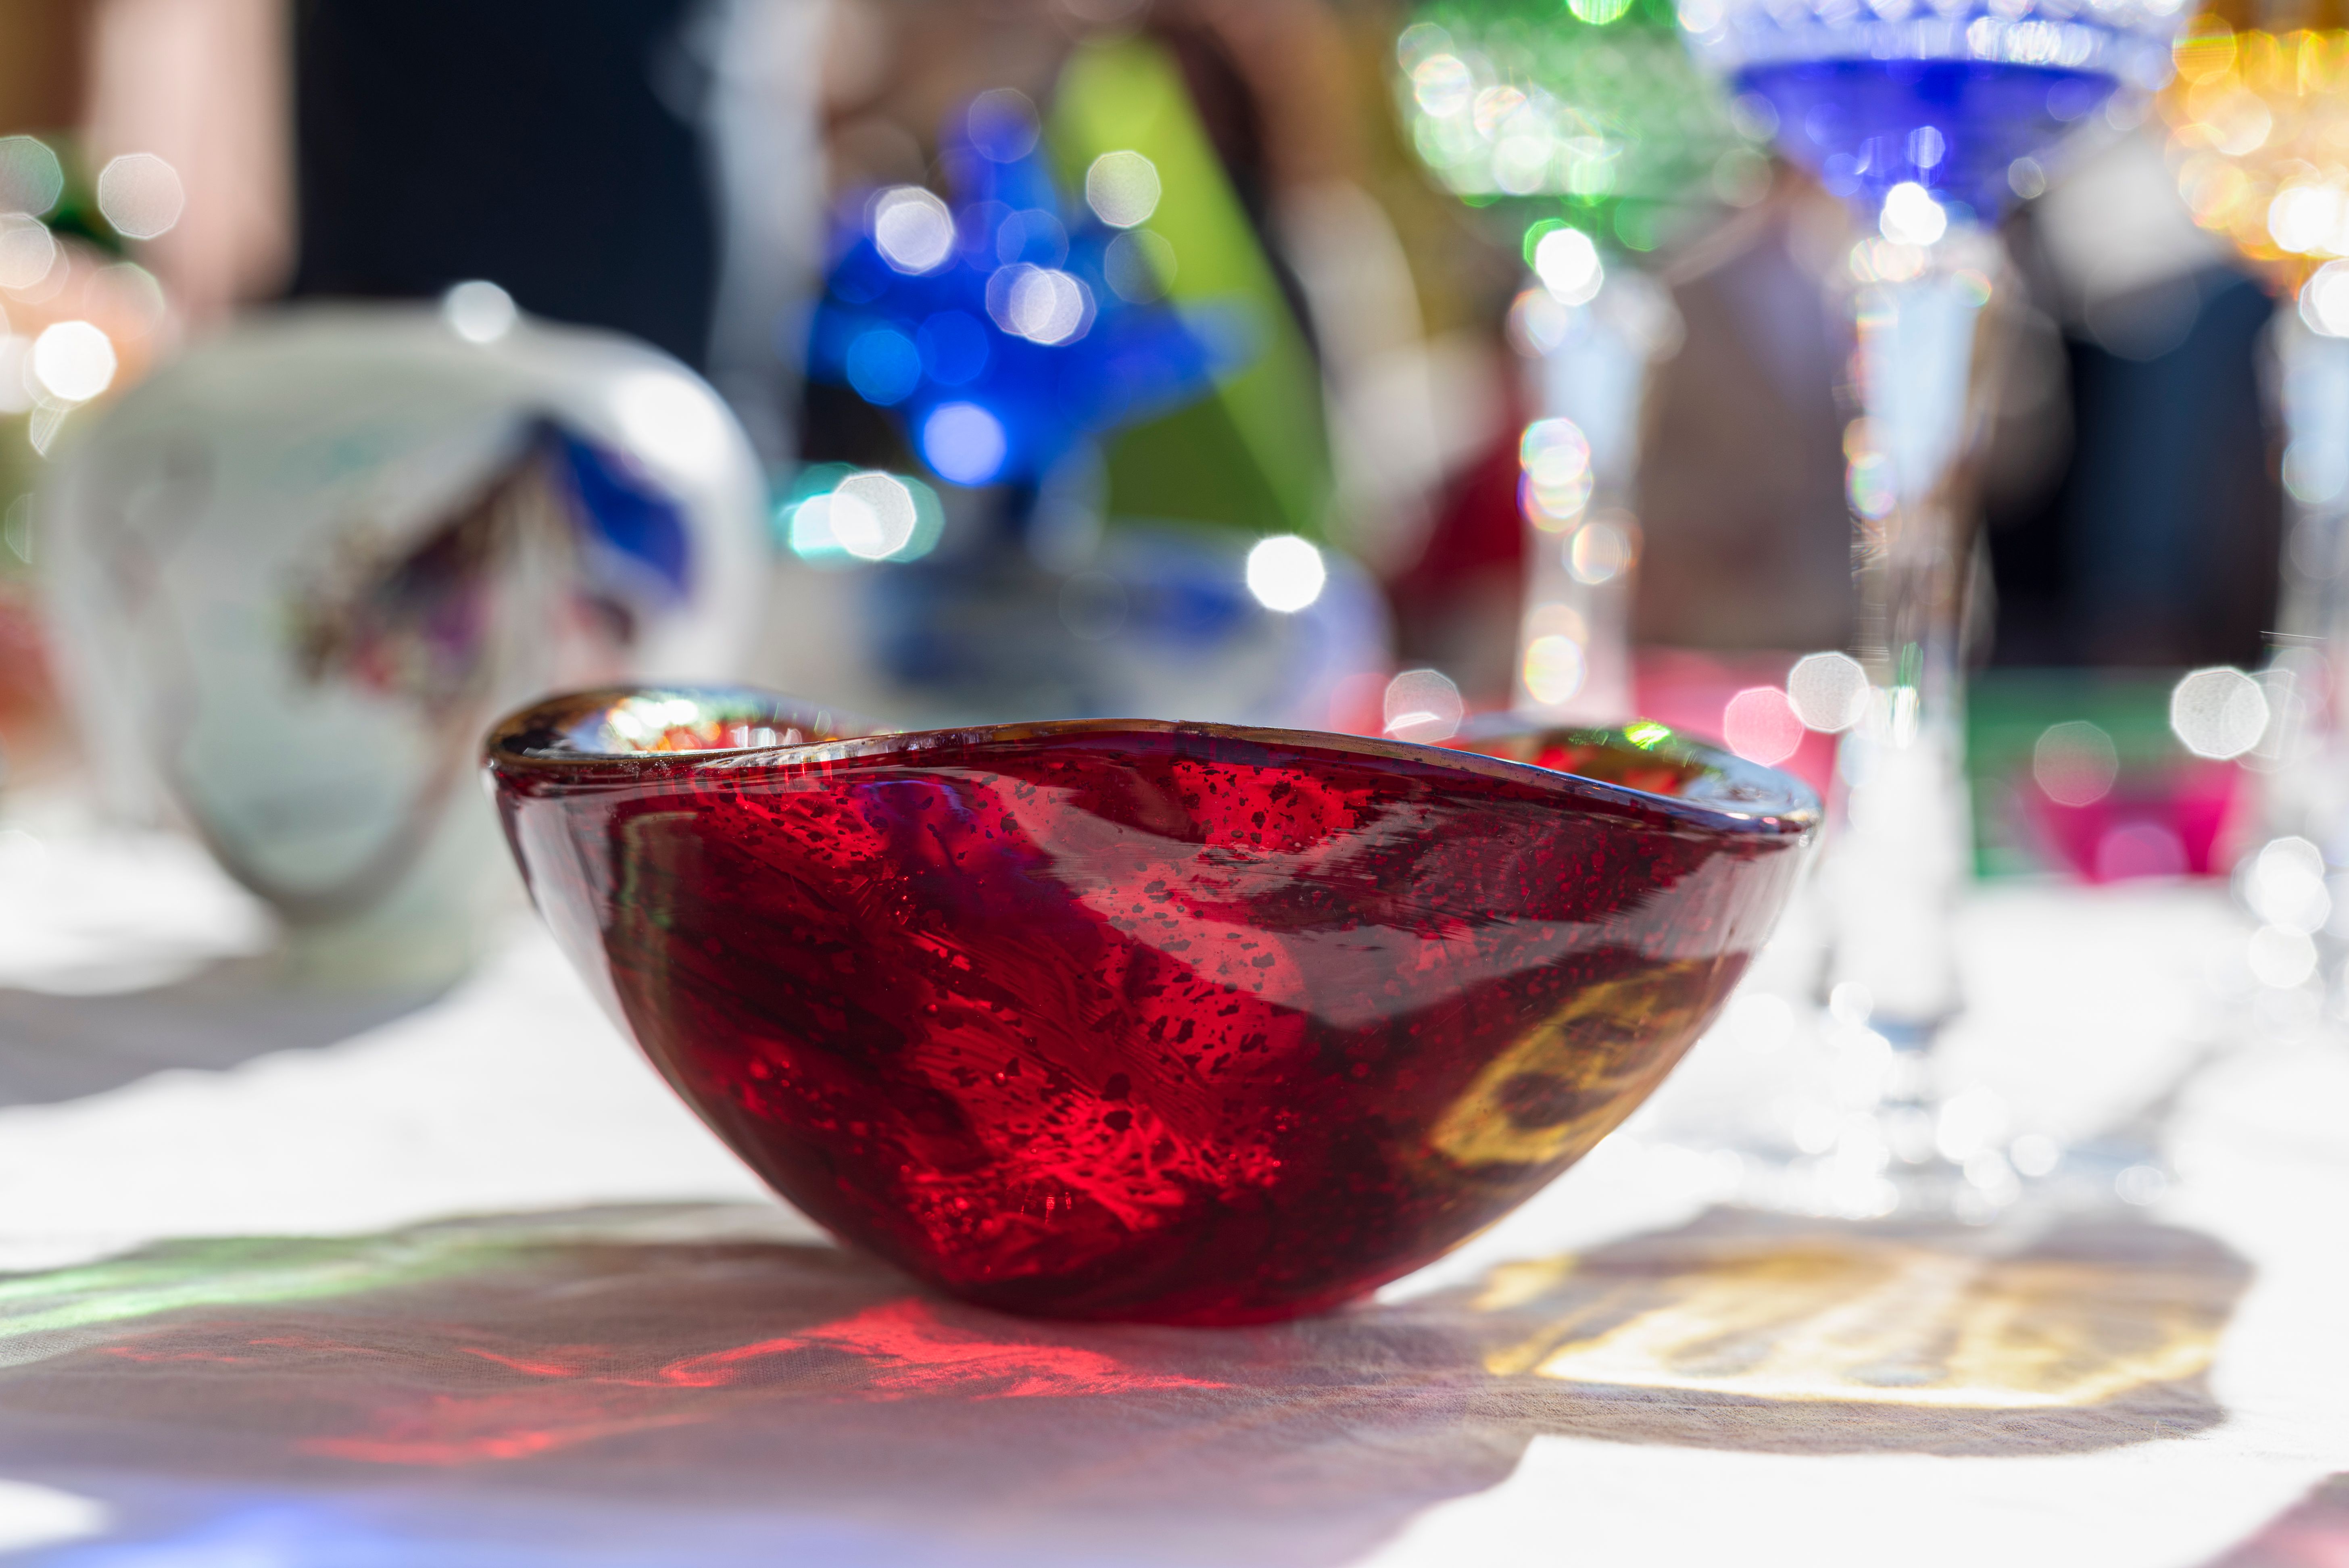
After firing, allow the glass to cool gradually in the kiln to prevent cracking or breaking. Once cool, you can add finishing touches, such as smoothing edges or adding embellishments. Your beautiful fused glass piece is now ready to display or gift!
Exploring Advanced Techniques
As you gain confidence in your fused glass skills, explore advanced techniques like slumping, which involves shaping glass over molds, or incorporating metal inclusions for unique effects. The possibilities are endless, and each project helps refine your artistic vision.
Fused glass art is not only a creative outlet but also a therapeutic process that allows you to express yourself in vibrant colors and patterns. With practice and patience, you'll discover the joy and satisfaction of transforming simple glass into stunning works of art.